I have been experimenting with different recipes for a basic bread loaf to make at home without a bread machine. After many experiments, here is the one that works for me. It creates a fluffy, healthy loaf with good taste and lasts about 3 days.
This bread is made out of a mixture of all-purpose wheat flour (75%) and 100% whole grain wheat flour (25%). I would like to increase the percentage of whole grain wheat flour but need to conduct more experiments to create a loaf that is not dense.
TODO: Convert all ingredient quantities to grams; mention weight of resulting bread loaf.
Ingredients
1+1/2 i.e. 1.5 cups of all-purpose wheat flour
1/2 cups of 100% whole grain wheat flour
1/2 cup of warm water
1/4 cup of milk (optional; use 3/4 to 1 cup of water if milk not used)
1 tbsp olive oil
2 tbsp maple syrup (could be replaced with honey, although I have not tried this)
1 tbsp vital wheat gluten (optional; not needed if not using whole wheat flour, or less of it)
1 tsp salt
1 tsp instant yeast
Additionally, you may want to add some seeds to the bread. I use a combination of flax, pumpkin, and dehulled sunflower seeds for their health benefits. Seeds also provide a good texture to the bread, although this is a personal preference.
Preparation
Tip: If you want to use the autolyse method that brings out additional flavor, please mix the flour and water and let the dough sit for about 30 minutes when following the instructions below.
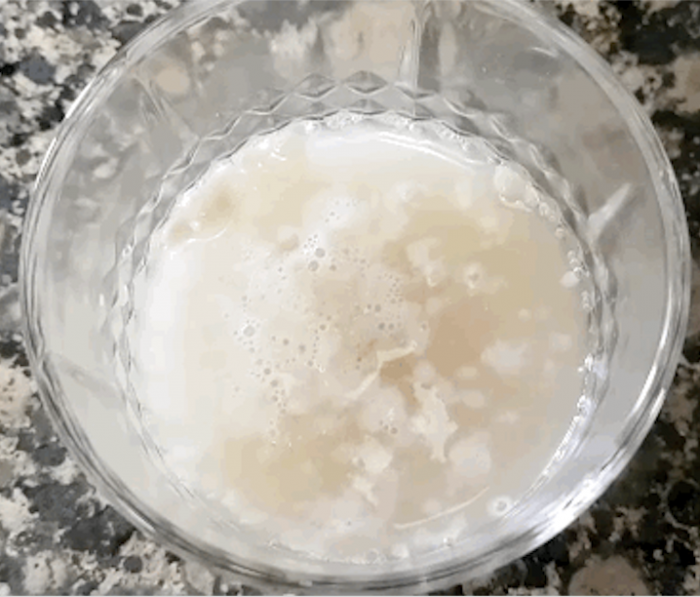
- Prepare the yeast: (If you are using instant or Rapid Rise yeast, this step is not needed. Add the yeast directly to the flour)
1.1 Add some maple syrup to warm water. The ideal temperature of the liquid mixture should be between 41°C-46°C. The water should not be too hot. Yeast dies above 55°C. If the temperature is below 38°C, an amino acid called glutathione leaks from the cell walls, making dough sticky and hard to handle.
1.2 Add 1 tsp yeast to the above
1.3 Put aside for approximately 15 minutes. At the end of this, you should see some froth on the surface. Sniff and there should be the distinctive yeast smell (a bit like hefeweizen beer)
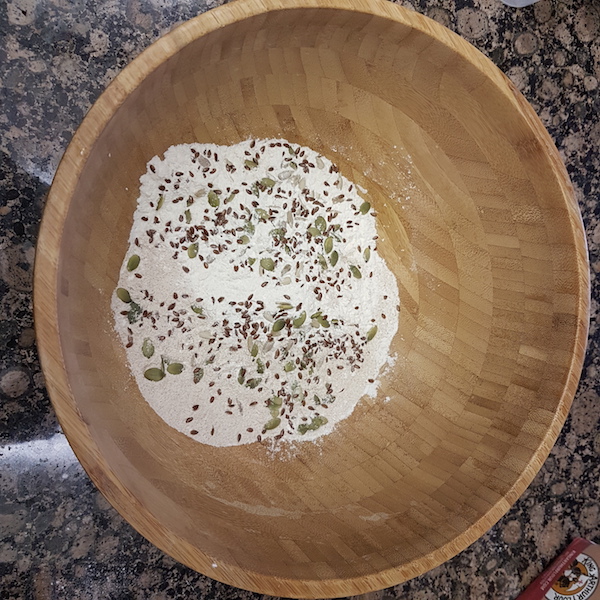
2. Prepare the dry ingredients: In a large bowl, mix the flour, vital wheat gluten, salt, and seeds.
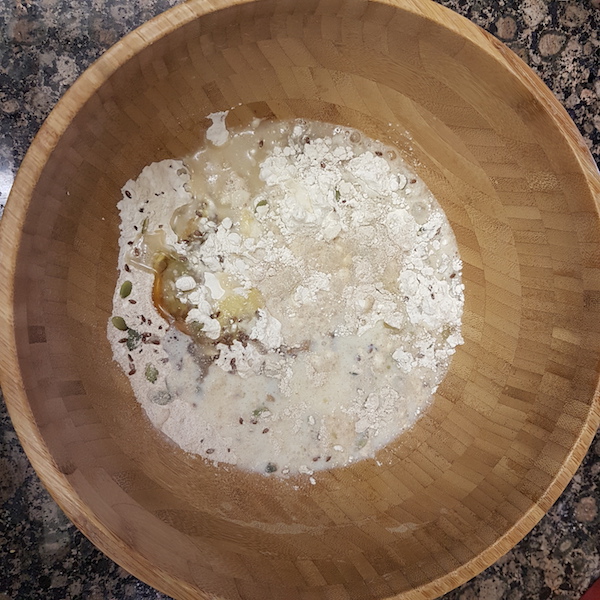
3.
Mix everything together: Add the water+yeast from step 1 to the dry ingredients in step 2, together with the olive oil and milk.
4. Knead vigourously for at least 15 minutes. Frequently stretch, pull, and fold the dough during kneading. Insufficient kneading can lead to crumbly bread. During the kneading process, add water or flour as necessary. If you strictly adhere to the quantities mentioned, you will likely need to add about 4 heaped tablespoons of flour during the kneading process. I typically add flour after pulling and folding back the dough, which exposes the sticky side on which I sprinkle flour. The kneaded ball of dough should have a slightly elastic consistency – when you press it with a finger, the dough should spring back.

Tossing the dough around to show off is encouraged at this stage. Just make sure not to drop it on the floor 😉

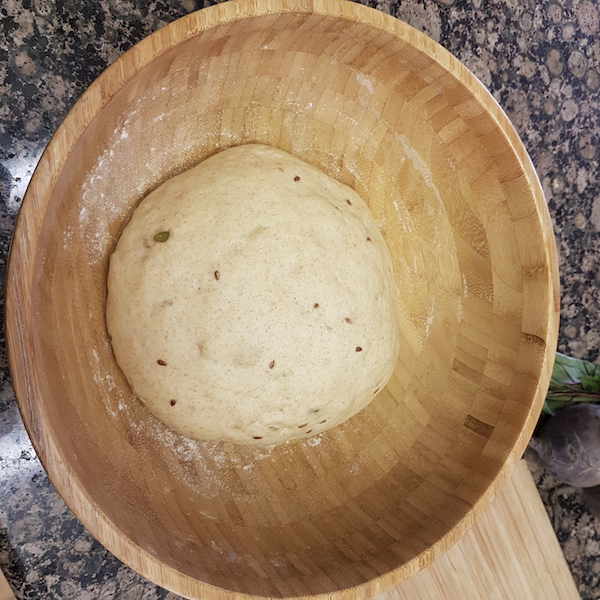
5. If you are using Rapid Rise yeast, you can get by with a single rise, although connoisseurs may detect some reduction in developed flavor. For a single rise, shape the dough into a cylindrical lump with your hands, place it in a buttered bread pan, cover the bread pan and let the dough rise until doubled in volume. Then and skip to step 10. If you are not using Rapid Rise yeast, or if you wish to give two raises, then roll the dough into a ball, cover the bowl partially with a cloth and leave in a warm and humid place for the dough to rise. Since our home usually does not have warm and humid conditions, I heat the oven ever so slightly and place the bowl of dough on the top shelf. Then I boil some water, pour into a saucepan, and place it underneath the bowl. Close the oven door and wait until the dough doubles in volume. Typically, this takes about 90 minutes.
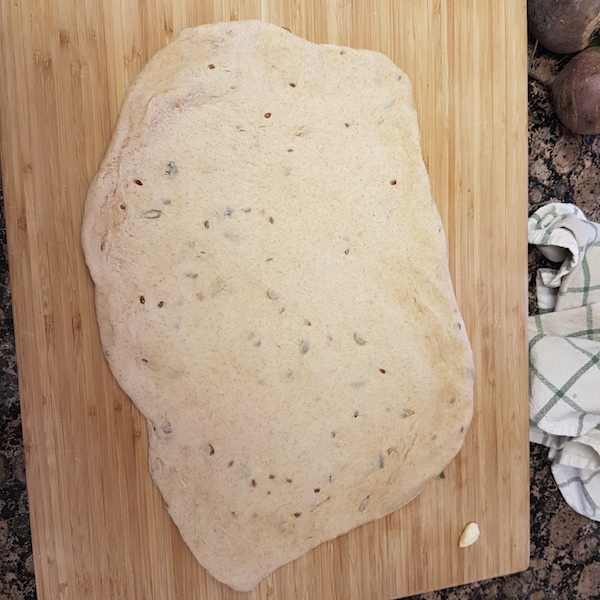
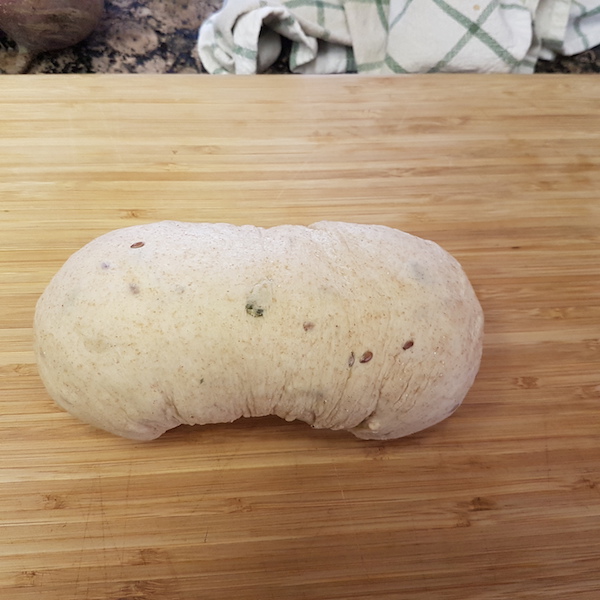
6. Remove the risen dough from the bowl and place it on a flat, floured surface. Punch down the dough into the shape of a rectangular sheet that is 1-1.5 cm thick.
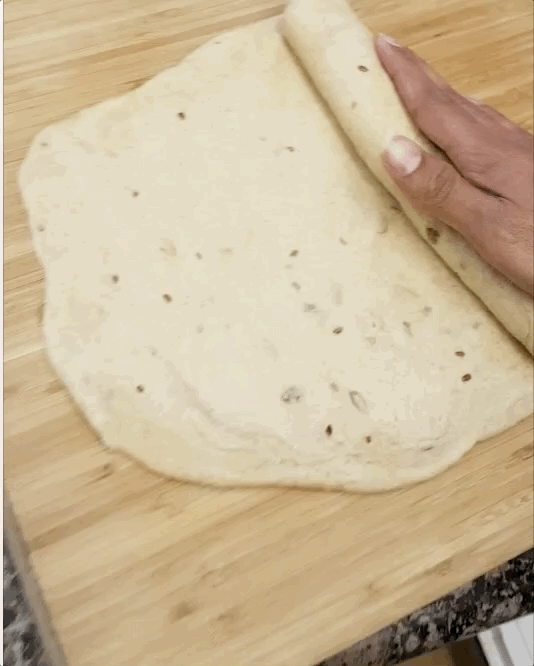
Roll the sheet of dough into a cylinder. Pinch the longitudinal seam to seal it back into the dough. If the seam does not seal, wet it with water and then seal. Then, fold the sides of the cylinder back and pinch close all seams.
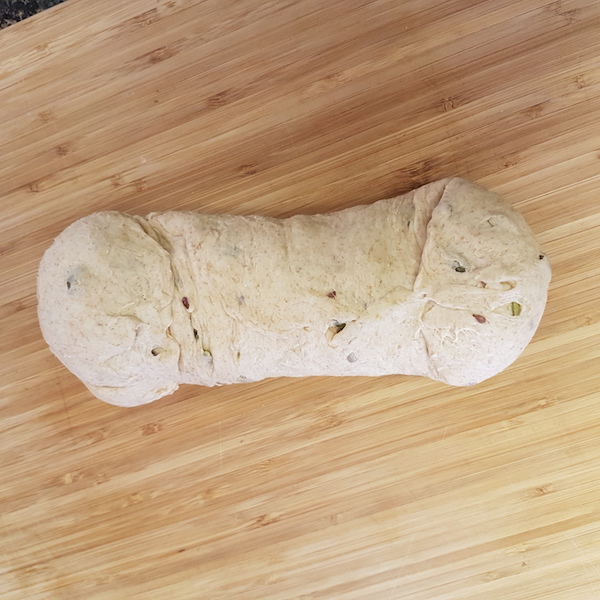
8. Turn the dough cylinder over and squish from both sides until its length matches the length of your bread pan.
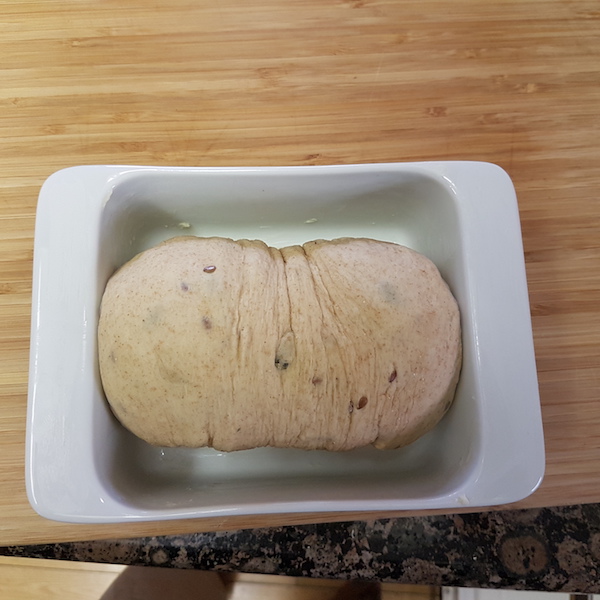
9. Apply butter liberally to all internal surfaces of the bread pan. This prevents the bread from sticking to the sides of the pan after it is baked. Place the dough into the pan and wait another 90 minutes or so until the dough doubles in volume. If the ambient temperature is not warm, heat the oven ever so slightly, then switch it off and place the pan in the oven. Keep it in the oven with door closed.
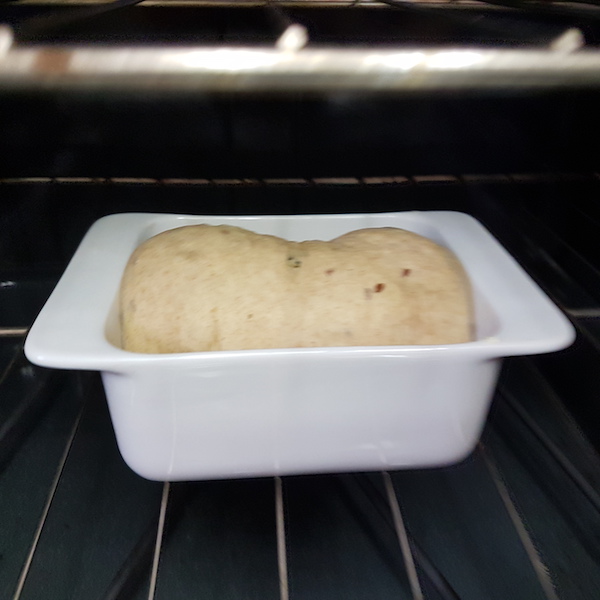
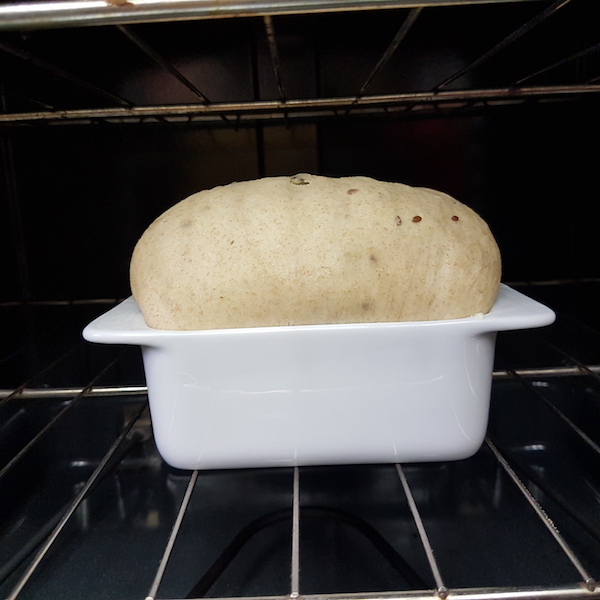
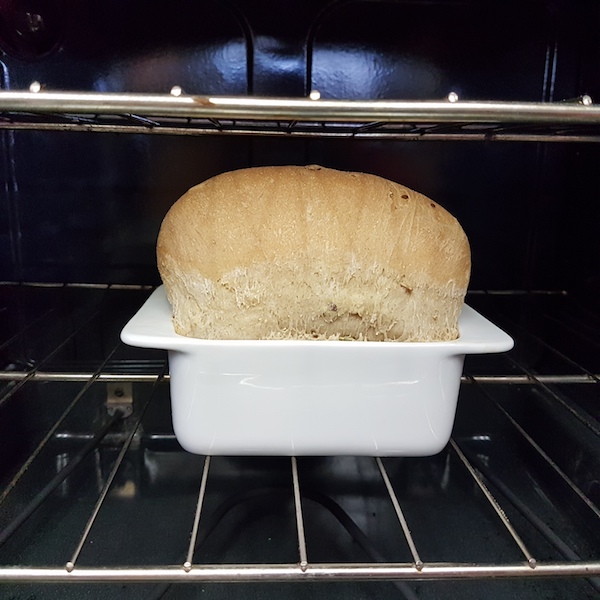
10. When the dough in the bread pan doubles in volume, place it in the oven (if it is not already there) and switch ON the oven to about 183°C (360°F). After the over reaches that temperature, the baking should continue for about 25 minutes. After this time, the crust should look golden brown and firm; if you rap it with a knife, there should be a hollow sound.
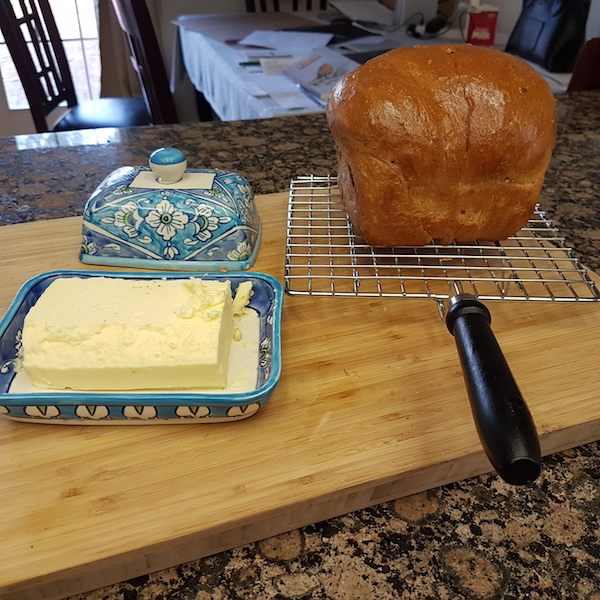
11. Remove the bread pan from the oven. Tip out the bread over a wire rack and (optionally) slather it with butter on all sides. Let loaf cool completely. This is an important step. If you cut the bread before it has cooled completely, it will likely ruin the loaf by making it sticky and chewy.
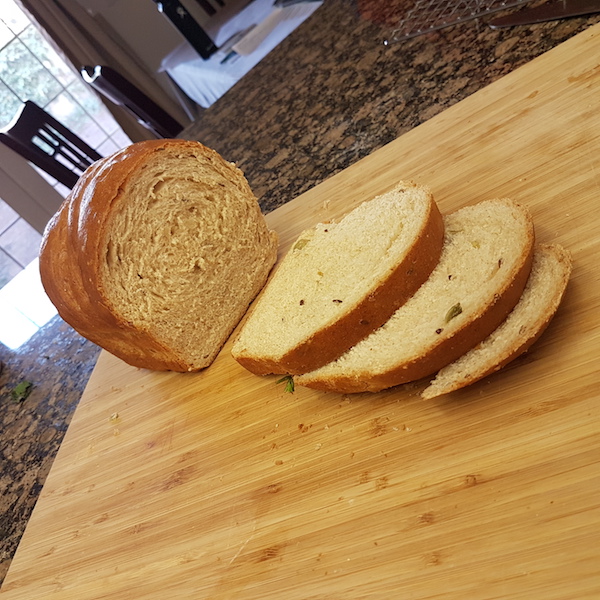
12. After the loaf has cooled, you can cut off slices at will. I typically toast the slices slightly before eating them, because I find this improves the taste.
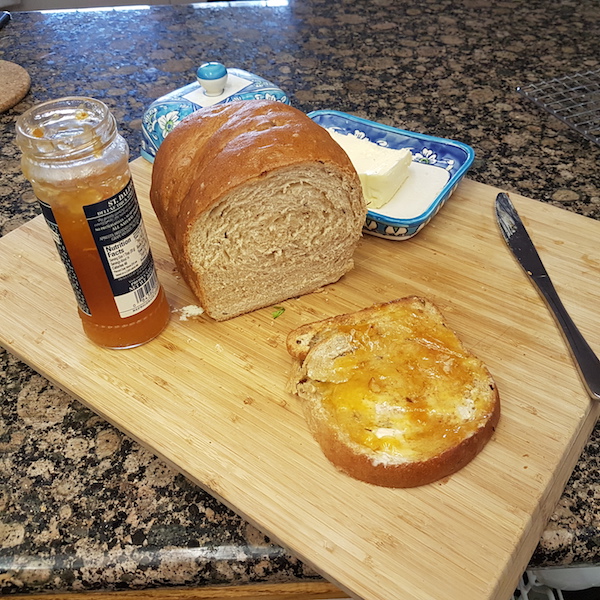
13. Below, I’m enjoying the toasted slice with butter and apricot spread. Yum!